Highlights
Highlights let people explore curated sets of records. You create a highlight from a list.
About highlights and lists
Highlights allow easy navigation of a collection by grouping objects together. You can reorganise highlights at any time to focus on current events. You can also hide highlights such as seasonal promotions and later make them visible again.
Lists are groups of records. Lists are private until you're ready to publish them as a highlight.
Create a list
-
Go to Browse data and select a browse option:
-
By Search
-
By Advanced Search
-
By Image Auto Tags
-
By Colours
-
By Saved List
-
-
Find the records you want to put in a list.
-
Select Create List.
-
Name the list, then select Save.
-
Add records to the list:
-
Select Add to add individual records to a list.
-
Select List Option > Add all on this page to add all records on the current results page to the list.
-
Add records to a list
-
Go to Browse data and select a browse option.
-
Find the records you want to add to a list. The active list name is shown above the results.
-
Optional: Select Change Active List and select another list.
-
Add records to the list:
-
Select Add to add individual records to a list.
-
Select List Option > Add all on this page to add all records on the current results page to the list.
-
Create a highlight
- Go to Appearance > Highlights.
- Select Create a new highlight.
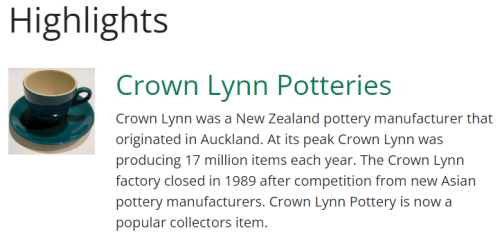
- Enter a highlight name. For example, Crown Lynn Potteries, or African Nkondi sculpture.
- Enter a highlight ID or public URL. It must be lowercase and can use letters, numbers and hyphens, but not spaces. For example, crown-lynn-potteries or african-nkondi-sculpture.
- Enter a highlight description.
- Highlights are set to be visible by default, so the Visible on Browser checkbox is already checked.
-
Select Choose image to select an image you have already uploaded or select Upload image to select a new one. The image must meet these requirements:
Orientation: Landscape
Width: 1200-1500 pixels
Format: .jpg, .png. .webp, or .jp2
File extension: Lower case (.jpg not .JPG)
- Select Choose saved list or Use the active saved list to set the list of records in the highlight.
- Select Save.
Change a highlight
- Go to Appearance > Highlights.
- Select the name of the highlight.
- Change the name, description, image, or saved list.
- Select Update.
Reorder highlights
- Go to Appearance > Highlights.
- Select the Reorder tab.
- Select a highlight.
- Use the arrow buttons on the right to move the highlight to its new position in the list.
- Select Update Order.
Hide a highlight
-
Go to Appearance > Highlights.
-
Select the name of the highlight.
-
Uncheck the Visible on Browser checkbox.
-
Select Update.
Delete a highlight
- Go to Appearance > Highlights.
- Select the name of the highlight.
- Select Delete.